BLOGGER TEMPLATES AND TWITTER BACKGROUNDS »

Monday, April 18, 2016

Separating Mixtures and Solutions - Beach in a Bucket

This week we worked on ways to separate mixtures and solutions. One of the labs we did was a beach in a bucket. The kids first made their beaches by combining in a bucket 1 cup of sand, 2 tablespoons of salt, 1 cup of gravel, 4 larger rocks, and 1 cup of water. After we mixed all the ingredients together, we discussed what part of our beach was the mixture (sand, rocks, gravel) and what part was the solution (salt and water.)  We began separating the rocks with a spoon, then we used a sieve to separate the gravel. This left our sand, water, and salt. Many of the kids initially thought sand would be part of the solution because the sand would dissolve in the water. We proved this was not the case by letting the sand, salt, and water sit overnight. When we returned the next morning, the sand had settled to the bottom of our beaker.

Separating rocks from our beach

Separating gravel


What is left after taking out gravel


We used a colander lined with a paper towel to separate our sand from our water and salt.
Separating sand


Finally, we were left with our solution, which we knew was going to be much more difficult to separate. After some discussion, the kids decided we needed to use a hot plate to evaporate the water. Some kids thought the salt would be left behind, but some were sure it would also evaporate because it had dissolved in the water. We used our hot plate to boil the water for a while, and when we returned, we found a cup full of dry salt!


The salt left in the beaker

Separating water and salt

Separating Mixtures and Solutions


This week we created some mixtures and examined ways to separate them. We began with a food coloring and water mixture and also a sugar and water mixture. With both of these mixtures, one of the materials completely dissolved, thereby giving us a solution (special kind of mixture where one thing dissolves into another).

Next we mixed sand and water. No matter how much we tried, we couldn't get the sand to dissolve in the water. We determined this was a mixture because the sand didn't dissolve. When trying to separate the two materials, we first let the sand settle to the bottom, then we used a coffee filter to filter the sand from the water.

Our next mixture was sand and gravel. When mixed, the two materials retained their physical properties. We simply had to use a sieve to separate the two materials.

Finally, we combined iron filings and pepper. The students used a magnet to separate these two materials. This was the students' favorite mixture to separate! The way the iron filings stuck to the magnet was pretty cool!


Monday, April 11, 2016

Perimeter

Today we began perimeter. The children learned perimeter last year, so we just briefly discussed what it is. "Peri" means around, and "meter" means measure. Therefore, perimeter is simply measuring around an object. After we practiced finding the perimeter of several rectangles and squares, I asked the kids to make me a shape using color tiles with a perimeter of 10. Out of all 40 math students I had yesterday, only one did it correctly. Almost every child used 10 tiles to make a rectangle, as pictured. I let them finish, then we discussed why this wasn't correct. "You all told me the perimeter means the distance around the outside. Then you  made me a shape where the distance around was 14. Why does using 10 tiles give you a perimeter other than 10?"  Eventually the kids were able to explain the tiles would all have to have only one side facing out to give them a perimeter of 10, which isn't possible. Then I challenged the kids to go back and fix their shapes. All were able to do it correctly. We also looked at three different shapes (also pictured) that used a different number of tiles, but had a perimeter of 10. Again, we focused on the sides facing out and discussed how this was possible.

After this, we made shapes with a perimeter of 12, then 20. All were able to do this correctly, and many got very creative with their shapes!

Incorrect Perimeter of 10
How do these all have a perimeter of 10?


Area vs. Perimeter Anchor Chart

Symmetry

4th graders usually have a pretty good grasp on symmetry in shapes, though we do begin with a quick review.

Symmetry Journal Entry
We talk about what symmetry is, and also explore several shapes to find their lines of symmetry.


We move to finding lines of symmetry within letters. The kids are given a stack of capital letters, and must determine if they have a horizontal line of symmetry, vertical line of symmetry, both horizontal and vertical lines of symmetry, or no line of symmetry. We discuss the way our letters are made, and how if the letter were made differently the line of symmetry could change. For example, the way our B is printed, there is no line of symmetry. If the B had equal "humps" on the top and bottom, there would be a horizontal line of symmetry.
Symmetry of Letters


After this discussion, I challenge the kids to make words using only vertical lines of symmetry, as well as words using only horizontal lines of symmetry. This is quite the challenge! I do allow them to use the letters with no lines of symmetry in their words. Otherwise, horizontal is a tad difficult. ;)

Monday, March 28, 2016

Converting Units of Measurement


After lengthy discussions and explorations of different units of measurement regarding length, weight/mass, and capacity, we began to try to convert units of measurement. Ex. How many yards are in 18 feet?

To do this in an organized way, we used our handy T-chart. As we practiced several conversions, the children began to see the  multiplication and division relationship. Because we still sometimes get confused about when to multiply or divide to get our answers, we are still going to start with the T-chart so that our rule is more obvious. Then we may move to a higher-level operation than simply listing. Some children are still more comfortable listing than multiplying or dividing, but are making larger jumps to help them be more efficient.

We made our "Big G" to help us see the relationship between units of capacity.


Friday, March 4, 2016

Inherited Traits and Learned Characteristics

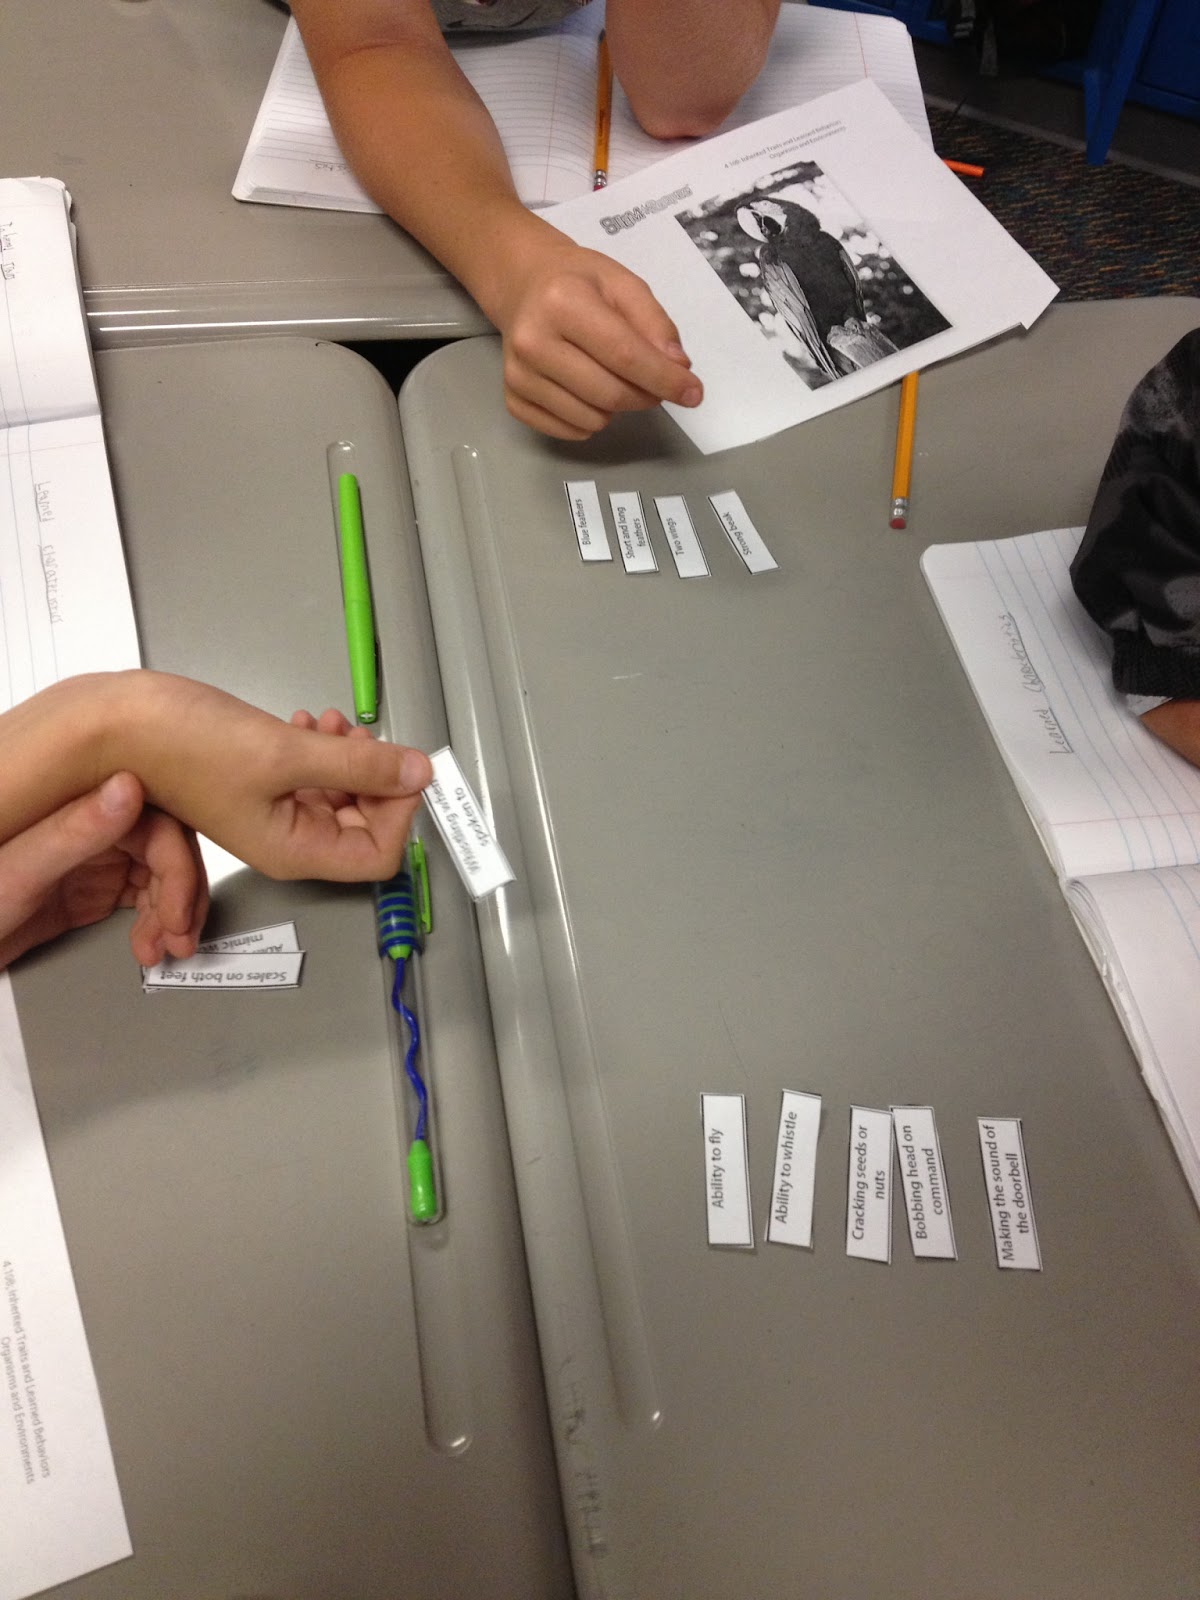
Today we discussed inherited traits and learned characteristics. Inherited traits are things we have/can do when we're born. Learned characteristics are those things we had to learn to do. We looked at a list of things a macaw is able to do, and determined if they were learned or inherited behaviors. Then we looked at lots of different pictures of various things (child rolling her tongue, color of a goldfish, freckles, ability to play an instrument) to make the distinction between inherited and learned.


Friday, February 19, 2016

Plant and Animal Adaptations

We did two investigations this week involving plant and animal adaptations. For plant adaptations, your kids were given different supplies (wax paper, plastic lid, balloon, sticky note, toothpick, crayon, cardboard piece). They were to try to determine which object was supposed to represent a plant adaptation shown on a sheet of plant pictures. This was really just an exploratory activity to help them evaluate why some materials might be more beneficial for plants than others.

Next we explored some bird beak adaptations by using tools to represent different bird beaks while trying to pick up various types of food. We used a clothespin to represent a finch beak, a toothpick to represent a woodpecker, a dropper to represent a hummingbird, and a spoon to represent a spoonbill. We then tried to pick up nectar (water), fish (plastic squares), seeds (sunflower seeds), and insects (raisins). This led to an interesting discussion regarding the fact bird beaks must fit the diet of the birds.